 Hey Kamado Joe fans, up today is a chore we all must do someday — the Kamado Joe Classic gasket replacement. It’s time to get that Joe back in tip-top shape.
Today is shaping up to be on the warm side. Mid-February with daytime highs in the mid-70s. Can’t beat the weather!
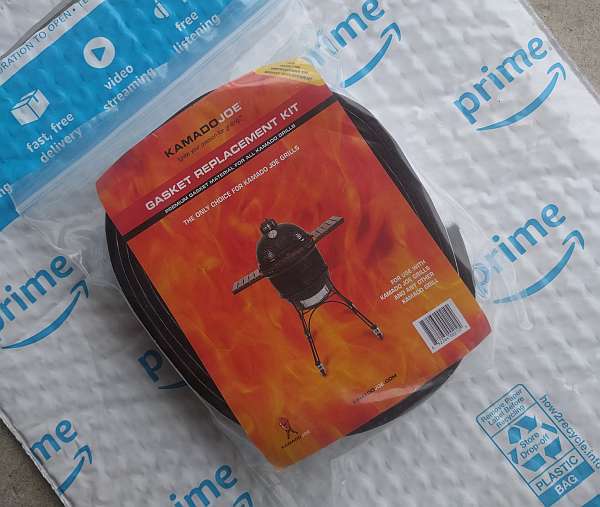
A while back, I ordered the Kamado Joe KJ-GA23 Gasket Kit for the Kamado Joe Classic. I was just waiting for a warmer day to get outside.
Update: It’s January 2023, and it’s the gasket needs to be replaced again. This will be the 3rd gasket since purchasing the Kamado Joe Classic years ago. Figure on replacing the gasket every 3 years or so.
Kamado Joe Classic Gasket Replacement
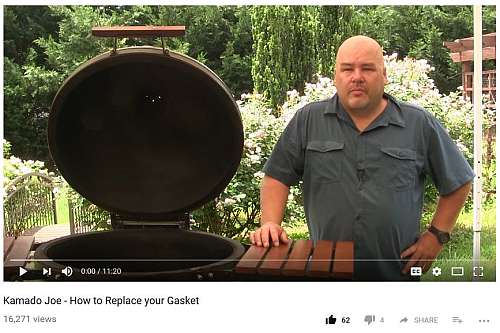
There are several good gasket replacement YouTube videos by Kamado Joe guru John Setzler. Check them out before tackling your own gasket replacement project.
YouTube: Kamado Joe – How to Replace your Gasket.
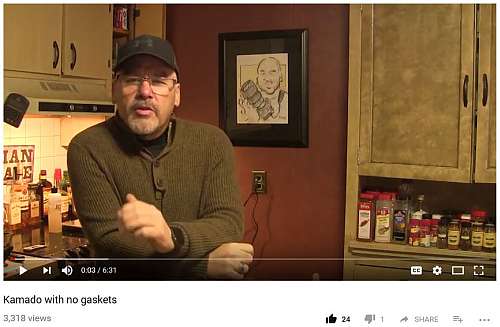
YouTube: Kamado with no gaskets
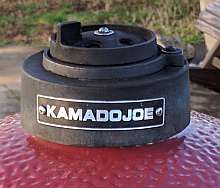
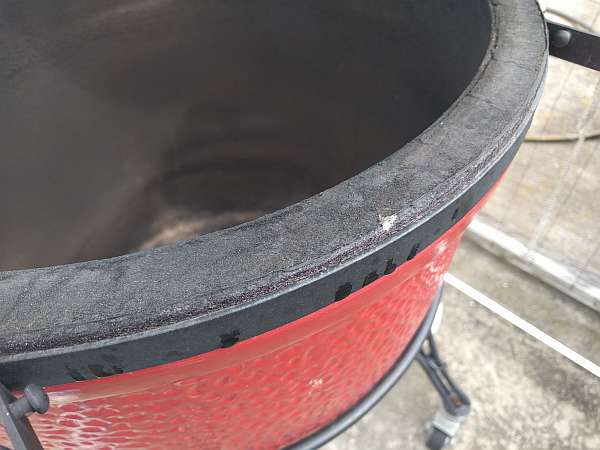
My Joe Classic gasket is completely worn after several hundred cooks. During the past several low-and-slow cooking sessions, I noted some smoke leaking through the gasket seal. This latest time, the gasket was just coming up and off the Joe in big pieces.
I ordered the Kamado Joe KJ-GA23 replacement gasket kit from Amazon. As usual, with 2-day Prime shipping, it came in no time. Just waiting for some better weather. Seems like the weekends have all been rainy.
The new gasket came in a small plastic bag. It is hard to tell from the Amazon image, but to me, it looked like a box. No biggie. It was well-packed.
Kamado Joe Classic KJ-GA23 Gasket Specifications
The out-of-the-bag specifications: the Kamado Joe KJ-GA23 replacement gasket measures 13 feet and 2 inches when unrolled. It also measured 1 inch wide and 1/8 inch thick. It appears to be the same heavy-duty felt, much like when you first unboxed the Joe years and years ago.
There is enough gasket material for your Kamado Joe Classic or a similar size ceramic grill.
Kamado Joe Classic Gasket Replacement – Tools Needed
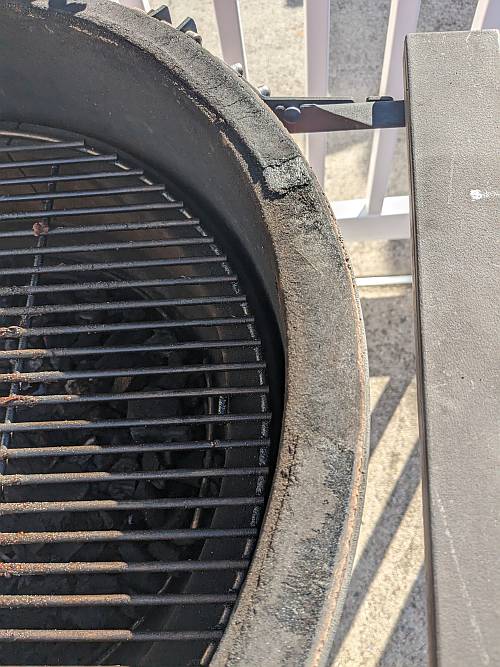
To remove the worn gasket, I just used a scraper with replaceable blades. I went through an entire pack of 10 razor blades, so make sure you have some extras on hand. I did try the wire brush technique as described in the videos. For me, the scraper was much more effective at removing the old gasket residue.
However, in January 2023, the drill-mounted wire brush disk worked much better than the razor blade scraper. The gasket adhesive was too well adhered. After all, this was now the second time I had done this.
Just like the YouTube videos, you’ll also need some acetone to clean up the ceramic surfaces once that worn gasket is gone. Disposable gloves are handy here as well.
Kamado Joe Classic Gasket Replacement – Preparation
Just as described in the YouTube videos, clean out the Joe. Remove any remaining lump charcoal. You’re going to need it later. Clean out any residual charcoal ash. This is also an excellent time to disassemble and clean out the cast-iron daisy wheel. I’ll do another post on that easy-to-do chore later.
Kamado Joe Classic Gasket Replacement – Scraping
A well-worn Kamado Joe gasket will just pull off with little effort. Use that scraper to remove any remaining residue. John says to use a wire brush, but I found the scraper much more effective the first time I did this. The next two times, well the drill-mounted wire brush worked much better. Maybe the layers of adhesive adhered to the porous ceramic? I don’t know.
I probably spent 3 hours scraping off the gasket and residual adhesive. I wanted a good clean surface for the new gasket.
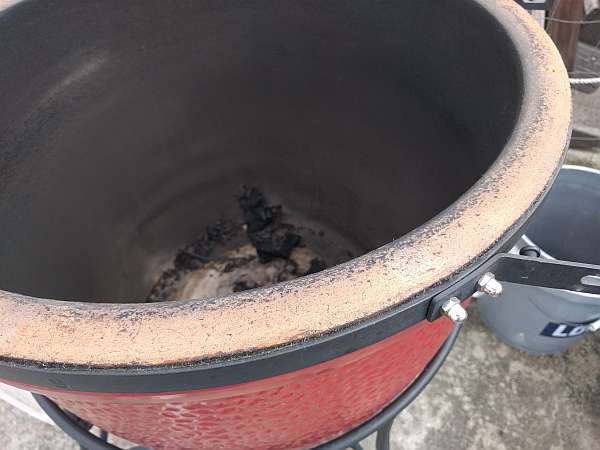
Once you’re done scraping, wipe down those areas with acetone.
Kamado Joe Classic Gasket Replacement – The Daisy Wheel
Probably the hardest part about putting on the new gasket is peeling away the backing from the adhesive.
Start with the chimney; just put the new gasket on where the old one was. Then trim with scissors. Use your hands to press the new gasket against the ceramic.
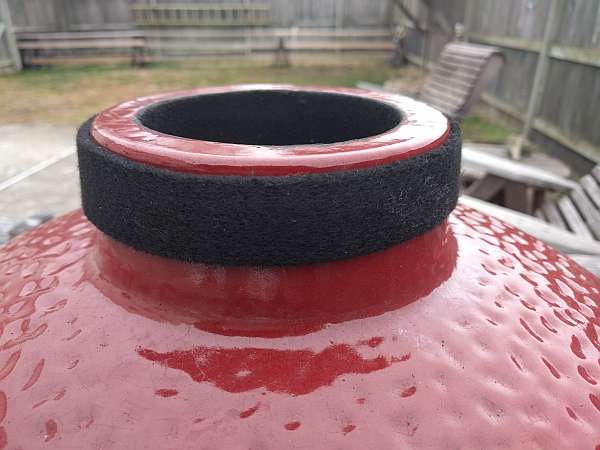
When you put that cast-iron daisy wheel on the dome, you’ll be amazed at how much better it seems to fit. There was a lot of wiggle with the old gasket.
Kamado Joe Classic Gasket Replacement – The Base and Dome Lid
Just as described in the video, fold the remaining gasket in half. Then cut so we have two pieces, precisely the same length.
Starting at the back of the Joe, simply peel away the backing paper a few inches at a time as you work your way around the base. I started the bottom gasket towards the right side of the hinge.
Next, I offset the starting point for the dome lid gasket, starting at the left side of the hinge, and worked my way around.
It was all easy enough and only took a few minutes. Probably the hardest part about putting on the new gasket is peeling away the backing from the adhesive.
Kamado Joe Classic Gasket Replacement – Finishing the Job
Almost finished. Brush off the inside of the grill, getting all those felt gasket bits cleaned out. I used my shop vac here.
Once cleaned, in goes the firebox. In January 2023, my original Kamado Joe firebox cracked in two. Fortunately, the kind folks over at Kamado Joe sent me a new-style, multi-piece firebox kit under warranty. So in went the new firebox.
Dump in that old charcoal and light her up.
With the dome closed and the top and bottom vents fully opened, let the Joe come up to about 350 degrees. The heat helps the gasket adhesive take hold. I also wanted to temper the new firebox and burn off any manufacturing residue.
At the target temperature, close everything down, shut those vents, and walk away. Let the Joe cool down. Your patience will be rewarded.
I finished up just in time. The warm February temperatures had given way to a nice evening thunderstorm.
So, don’t put off that Kamado Joe gasket replacement, go ahead and order that Kamado Joe KJ-GA23 gasket replacement kit and wait until the weather is right. It took me about 3 hours and a few cold beverages to complete the job. You’ll be glad you did.
Check out my other Kamado Joe and JoeTisserie recipes and links here on my Outdoor Eats page.